How to Process an Ora King Fillet
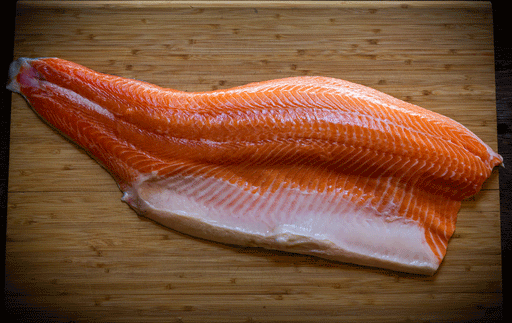
1. Remove the Pin Bones
-
Lay the fillet skin-side down (if skin is still on).
-
Run your fingers gently down the center of the fillet to locate the pin bones—you’ll feel a line of small, firm bones.
-
Use fish tweezers to carefully pull each bone out in the direction it’s angled.
(Tip: Grip firmly and pull steadily to avoid tearing the flesh.)

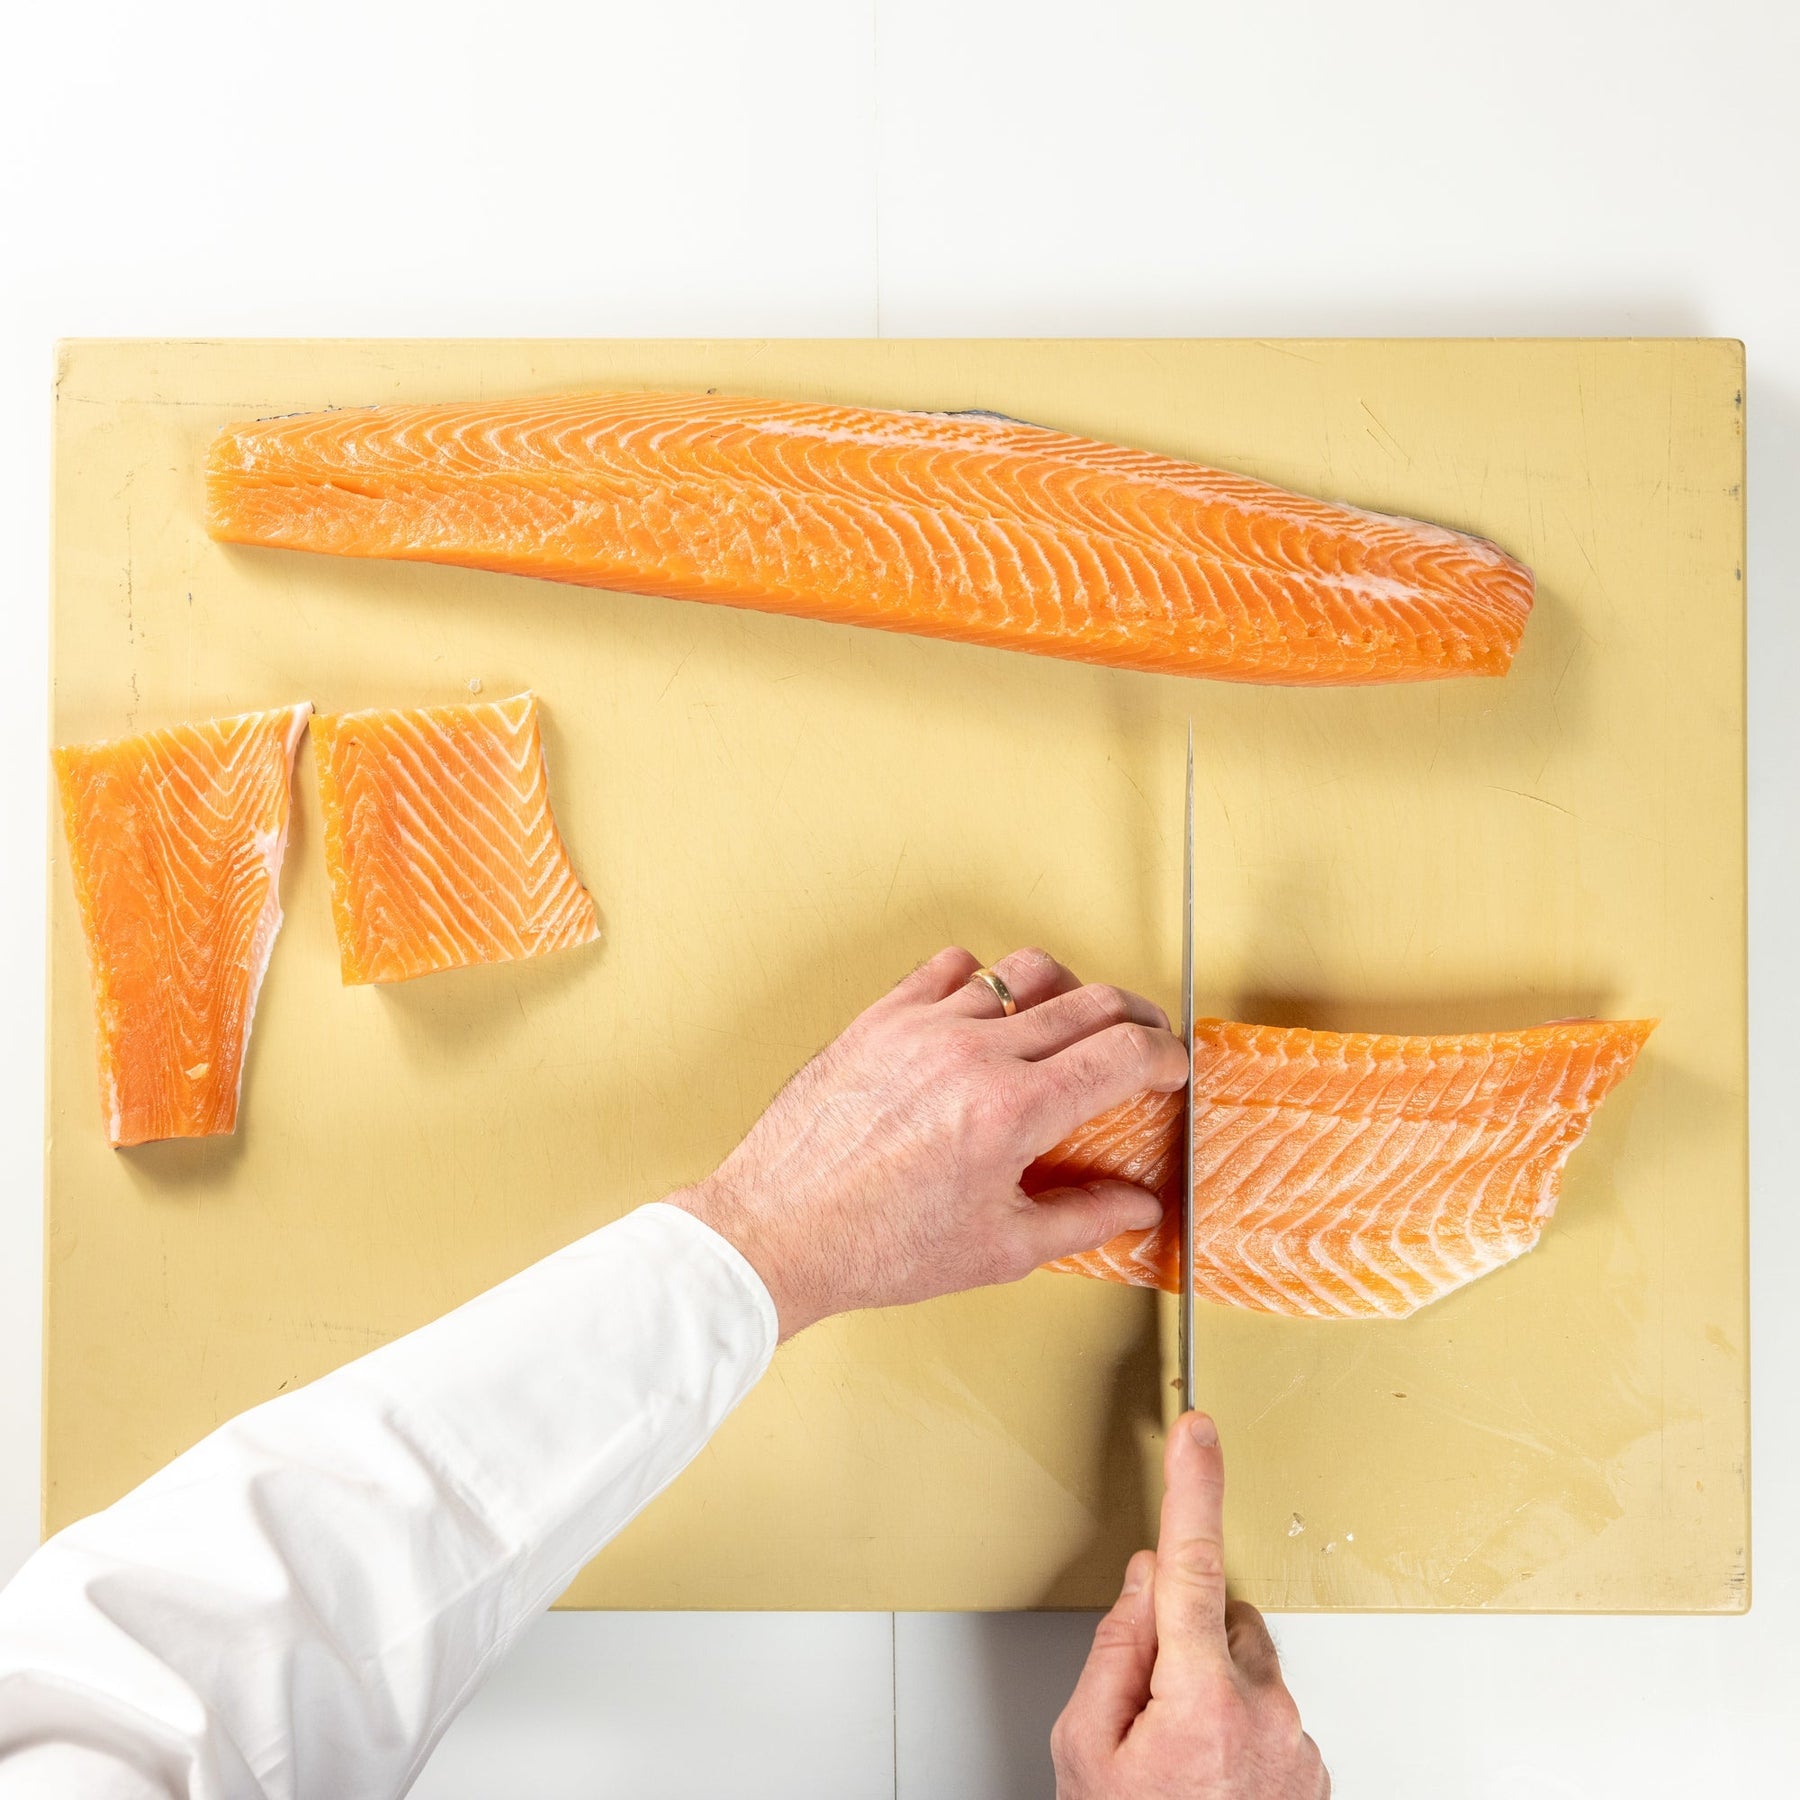
2. Slice Down the Middle
-
With the fillet laid flat, slice lengthwise down the middle, starting from the tail end and cutting toward the collar.
-
This creates two long halves, making it easier to portion and handle evenly.

3. Portion One Side
-
Start with one half of the fillet.
-
Cut into even portions, depending on your desired weight or presentation size—typically 5–6 oz (140–170g) each.
-
Use long, smooth strokes for clean cuts that preserve the integrity of the flesh.

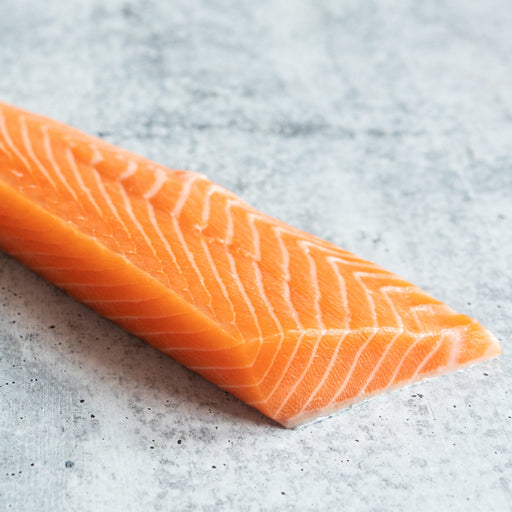
4. Trim the Edges
-
Clean up each portion by trimming any ragged edges or tapering tips, creating straight, uniform lines for a polished, professional look.

5. Wrap for Storage
-
Once portioned, wrap each piece tightly in plastic wrap, pressing out any air to help maintain freshness.
-
For extra freshness, place wrapped portions in a sealed container or vacuum bag.

Storage Tips:
-
Keep portions refrigerated and use within 2–3 days.
-
For longer storage, freeze immediately after wrapping and use within 2 months for best quality.
Optional Pro Tip:
-
If skin-on, you can lightly score the skin before cooking for a crisp, even sear.
-
Mark your portions by thickness if you plan to cook them at different times or temperatures.
Featured collection


Ora King Salmon
Original price
Starting at
$0.00
Original price
$56.00
Original price
$0.00
Starting at
$56.00
Starting at
$56.00
Current price
$56.00
In stock
"The best salmon I’ve ever tasted. Succulent and rich, the cut of salmon transcended salmon." - Food & Wine Magazine on Ora King Salmon Avai...
View full details
Original price
Starting at
$0.00
Original price
$56.00
Original price
$0.00
Starting at
$56.00
Starting at
$56.00
Current price
$56.00

North Atlantic Salmon
Original price
Starting at
$0.00
Original price
$32.00
Original price
$0.00
Starting at
$32.00
Starting at
$32.00
Current price
$32.00
Low stock
Available in two options: Fresh North Atlantic Salmon fillet, skin-on (3-4 pounds) Frozen North Atlantic Salmon portions, skin-off portions (2 ...
View full details
Original price
Starting at
$0.00
Original price
$32.00
Original price
$0.00
Starting at
$32.00
Starting at
$32.00
Current price
$32.00
Scottish Sea Trout
Original price
Starting at
$34.00
Original price
$74.00
Original price
Starting at
$34.00
Starting at
$34.00
Current price
$34.00
In stock
Size: One fresh Scottish Sea Trout fillet, skin-on (2-2.5 pounds) Two frozen Scottish Sea Trout portions, skin-on (2 x 8 oz) Premium fresh-nev...
View full details
Original price
Starting at
$34.00
Original price
$74.00
Original price
Starting at
$34.00
Starting at
$34.00
Current price
$34.00

Diced Salmon for Poké
Original price
Starting at
$0.00
Original price
$0.00
Original price
$0.00
Starting at
$24.00
Current price
$24.00
In stock
Size: One pound of frozen Diced Salmon for Poké Premium North Atlantic salmon, ready to eat as poké Conveniently pre-portioned and frozen A p...
View full details
Original price
Starting at
$0.00
Original price
$0.00
Original price
$0.00
Starting at
$24.00
Current price
$24.00
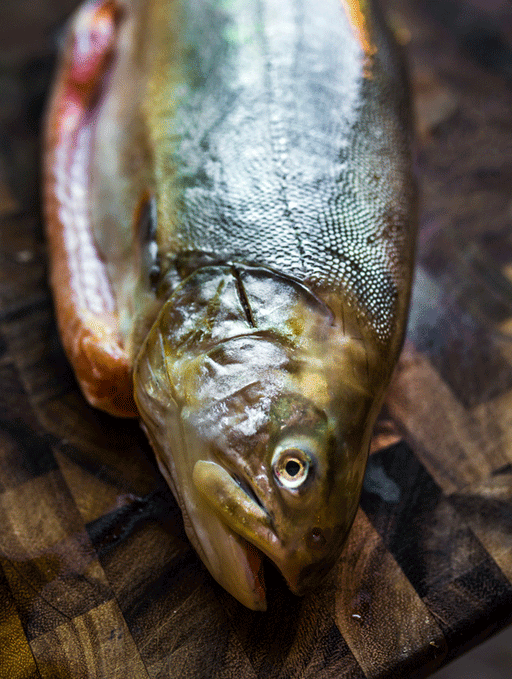
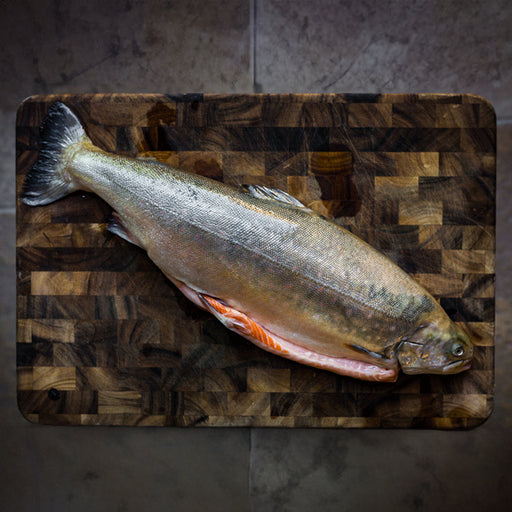
Arctic Char
Original price
Starting at
$90.00
Original price
$105.00
Original price
Starting at
$90.00
Starting at
$90.00
Current price
$90.00
Out of stock
Available in two formats: Two fresh Arctic Char fillets, skin-on (2-3 pounds total) One whole fresh Arctic Char, scaled and gutted (4-5 pounds)...
View full details
Original price
Starting at
$90.00
Original price
$105.00
Original price
Starting at
$90.00
Starting at
$90.00
Current price
$90.00